Setup CLion with STM32CubeMX project for STM32 Development on macOS
Keil is very easy to handle for embedded development but might not have some functionalities such as code completion and inlay hint. This would trouble you especially when you want to conduct a big project.
IDEs by Jetbrains like Intellij and Pycharm are very popular in the market. They have many advantages including charming UIs, good usability, safe refactoring. Doubtlessly, their IDEs could greatly assist your coding works. CLion is a cross-platform IDE for C/C++ development by Jetbrains, and I will guide you to setup a basic development environment for STM32 with CLion in this tutorial.
Tools
Software
- A computer with macOS(for sure)
- CLion
- STM32CubeMX
- Homebrew
Hardware
- STM32 MCU
- ST-Link/J-Link
Installations
Prerequisites
CLion
The version should be higher than 2019.2.
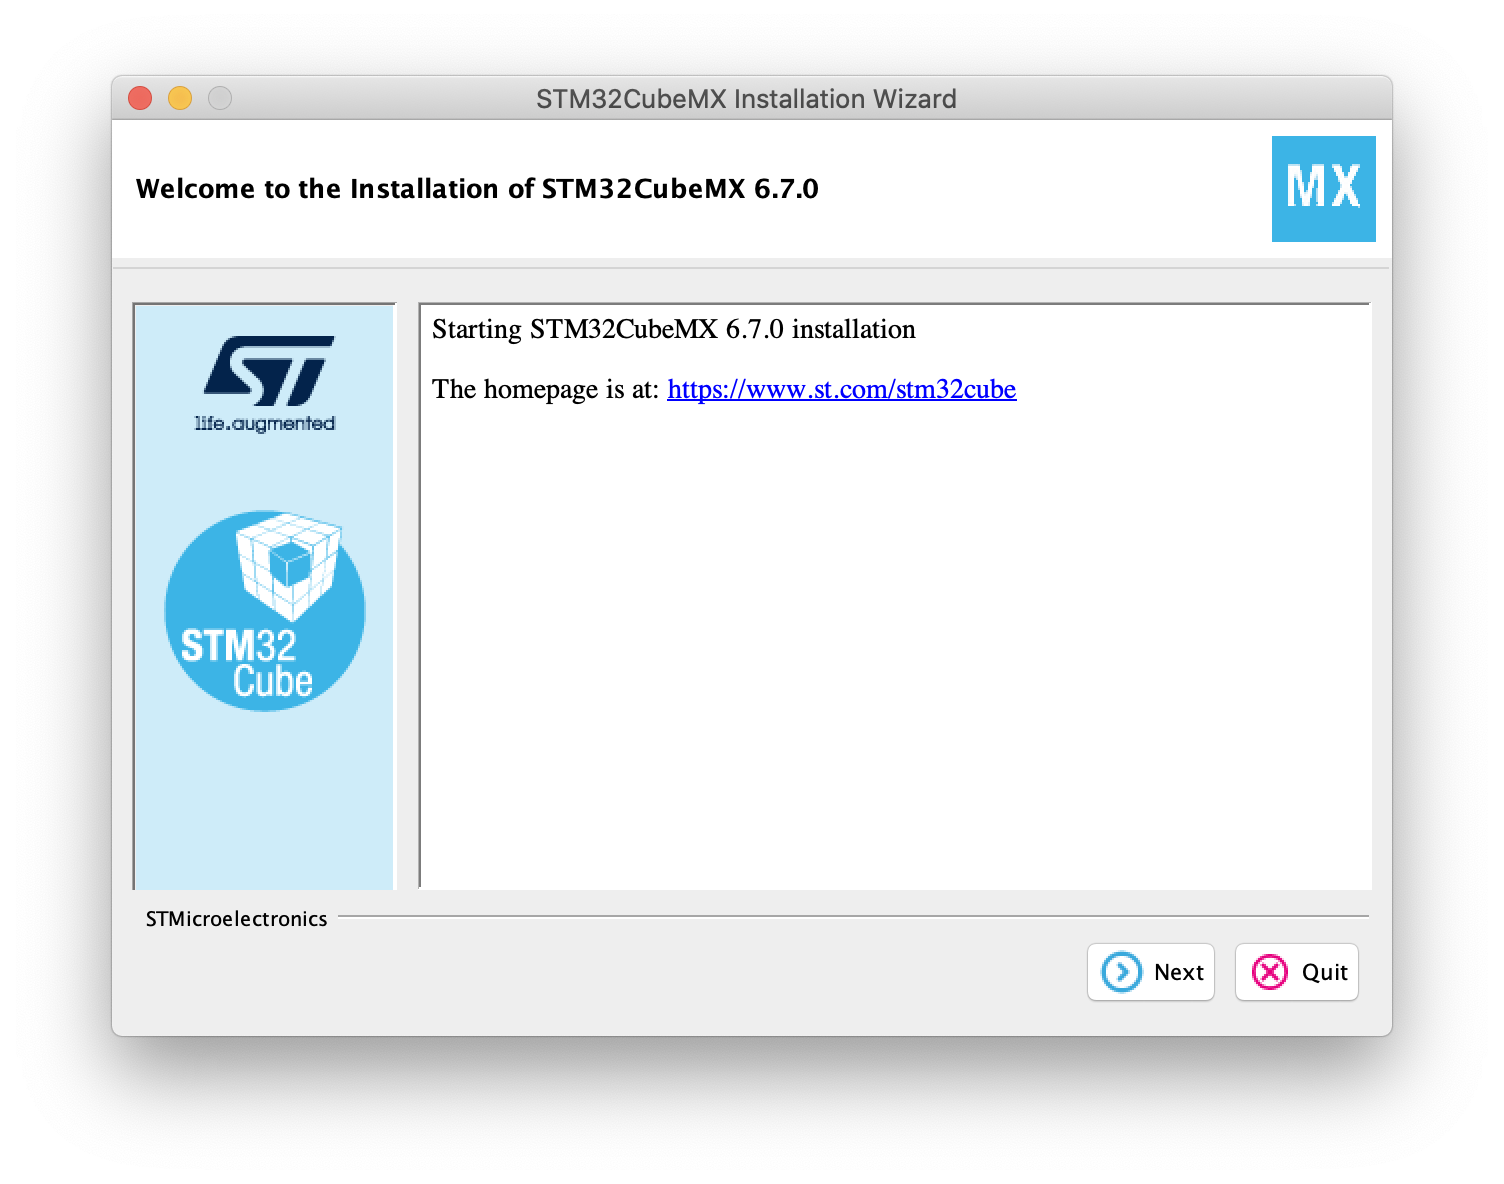
STM32CubeMX
Downloading requires email verification.
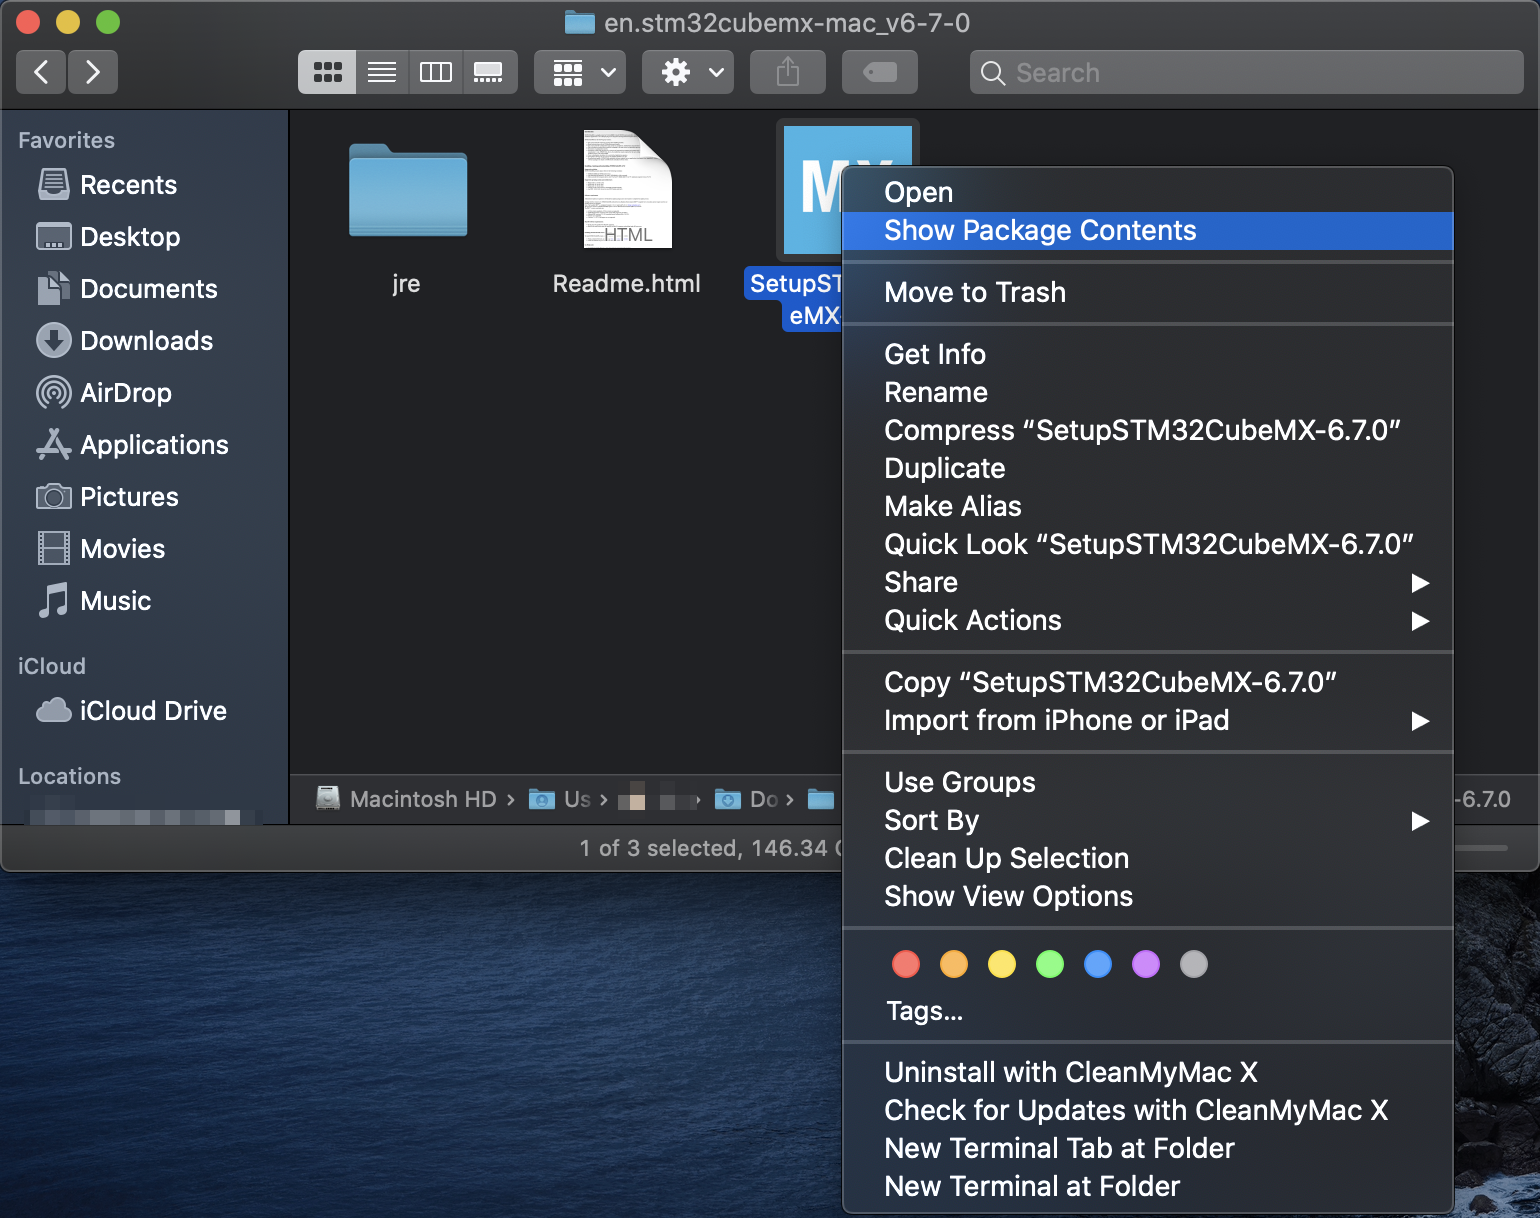
- After you unzip the downloaded file, right-click the STM32CubeMX package and click
Show Package Contentsand right click to open the executable file inside the package.
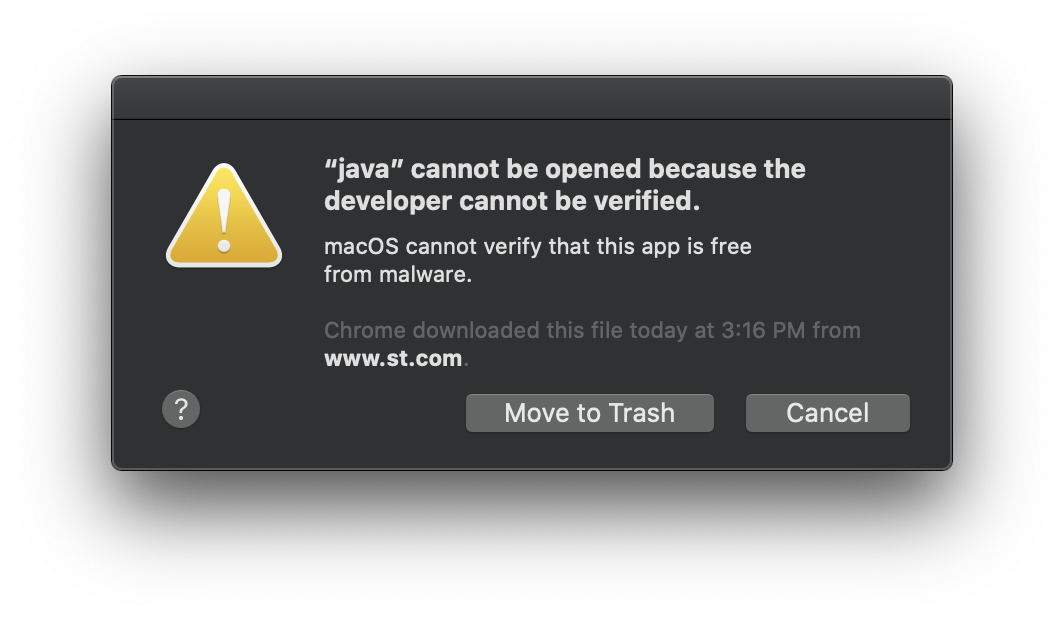
- There will be an error window popped up. Click
Cancel.
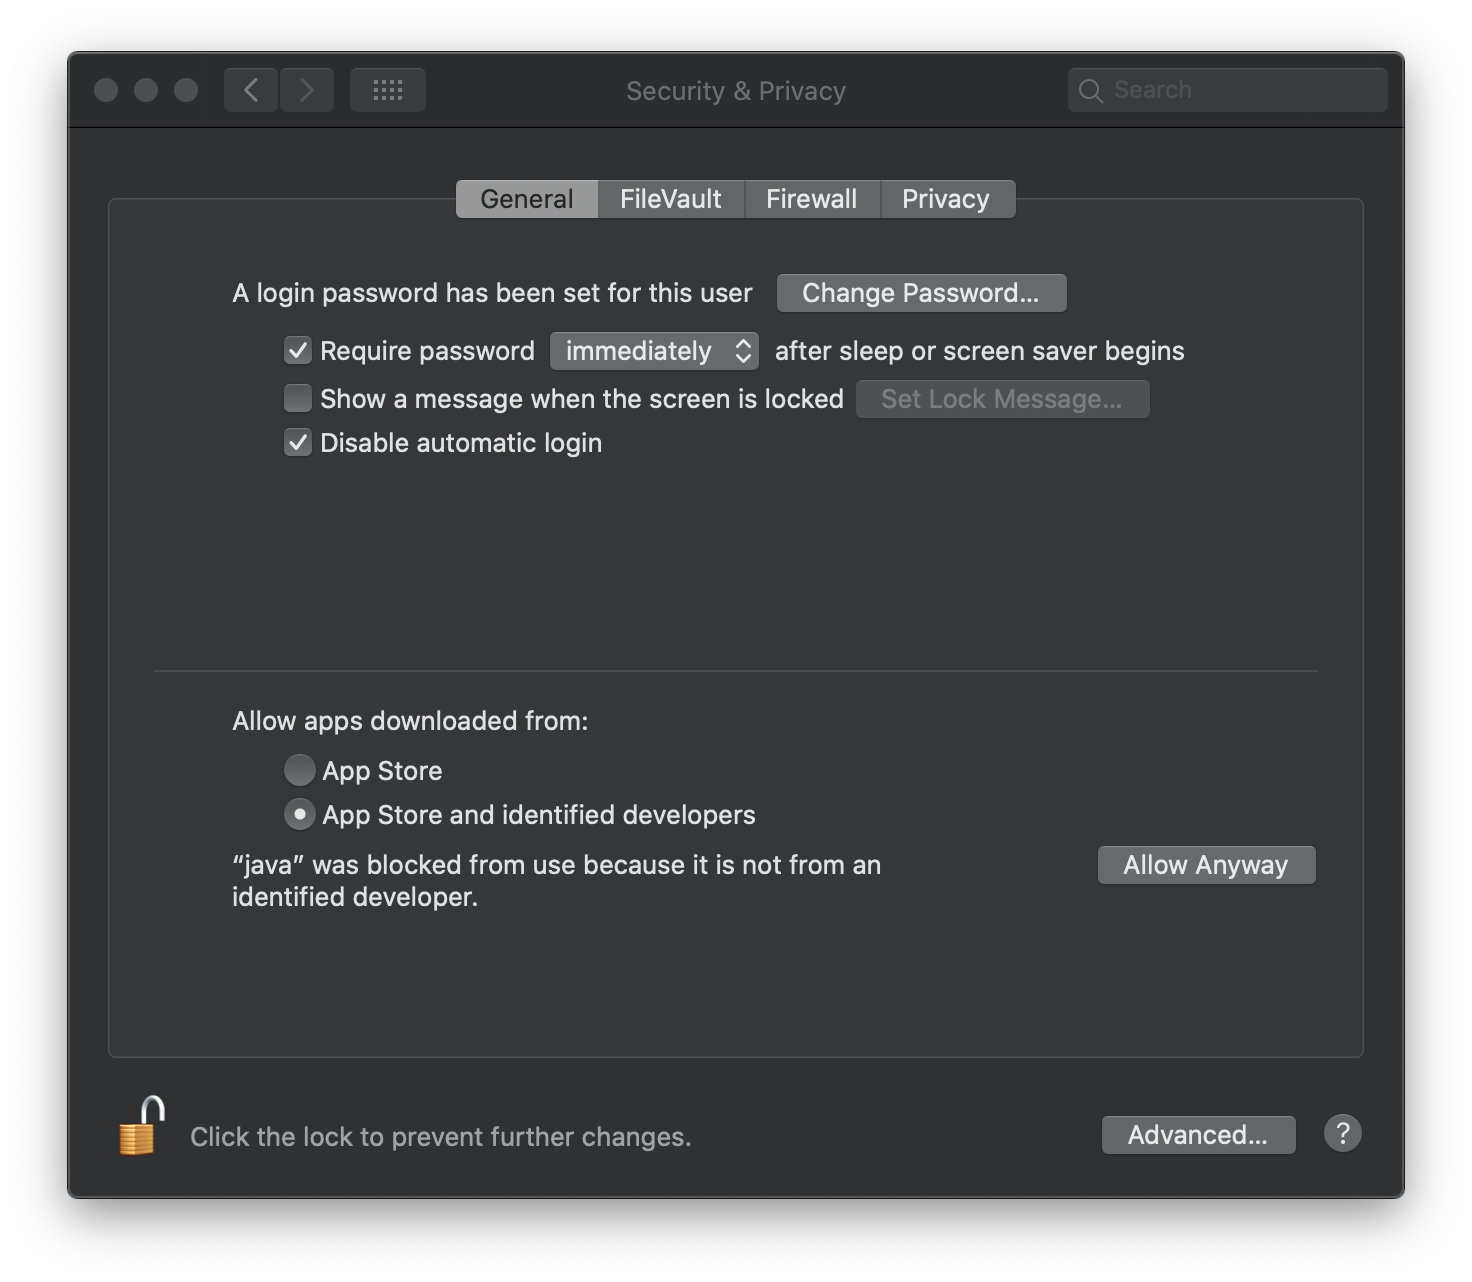
- Open
Security & PrivacyinSystem Preferencesand clickAllow Anyway.
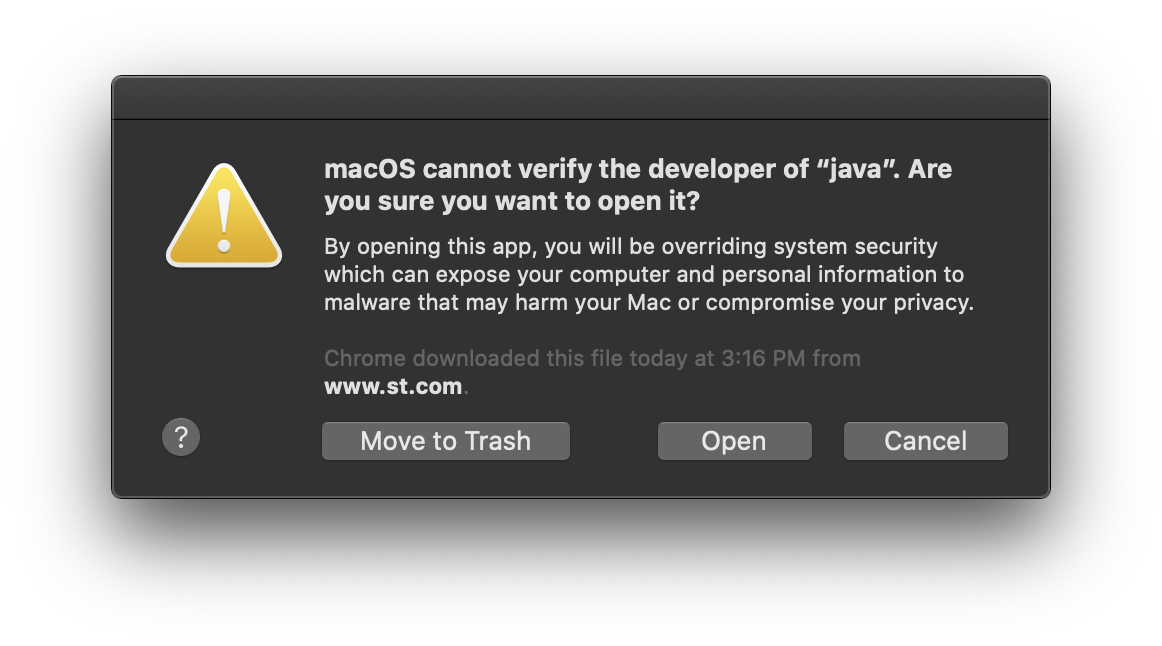
- Open STM32CubeMX executable file again in the package and click
Open.
- Install STM32CubeMX.
Homebrew
Validate the installation
brew -v.
You should have installed these tools above before you continue the next step.
ARM Toolchain
- Run
brew tap ArmMbed/homebrew-formulaeandbrew install arm-none-eabi-gccin the terminal.
Validate the installation:
arm-none-eabi-gcc -v.
OpenOCD
brew install open-ocd
Validate the installation:
openocd -v.
CLion Configurations
OpenOCD & STM32CubeMX Paths
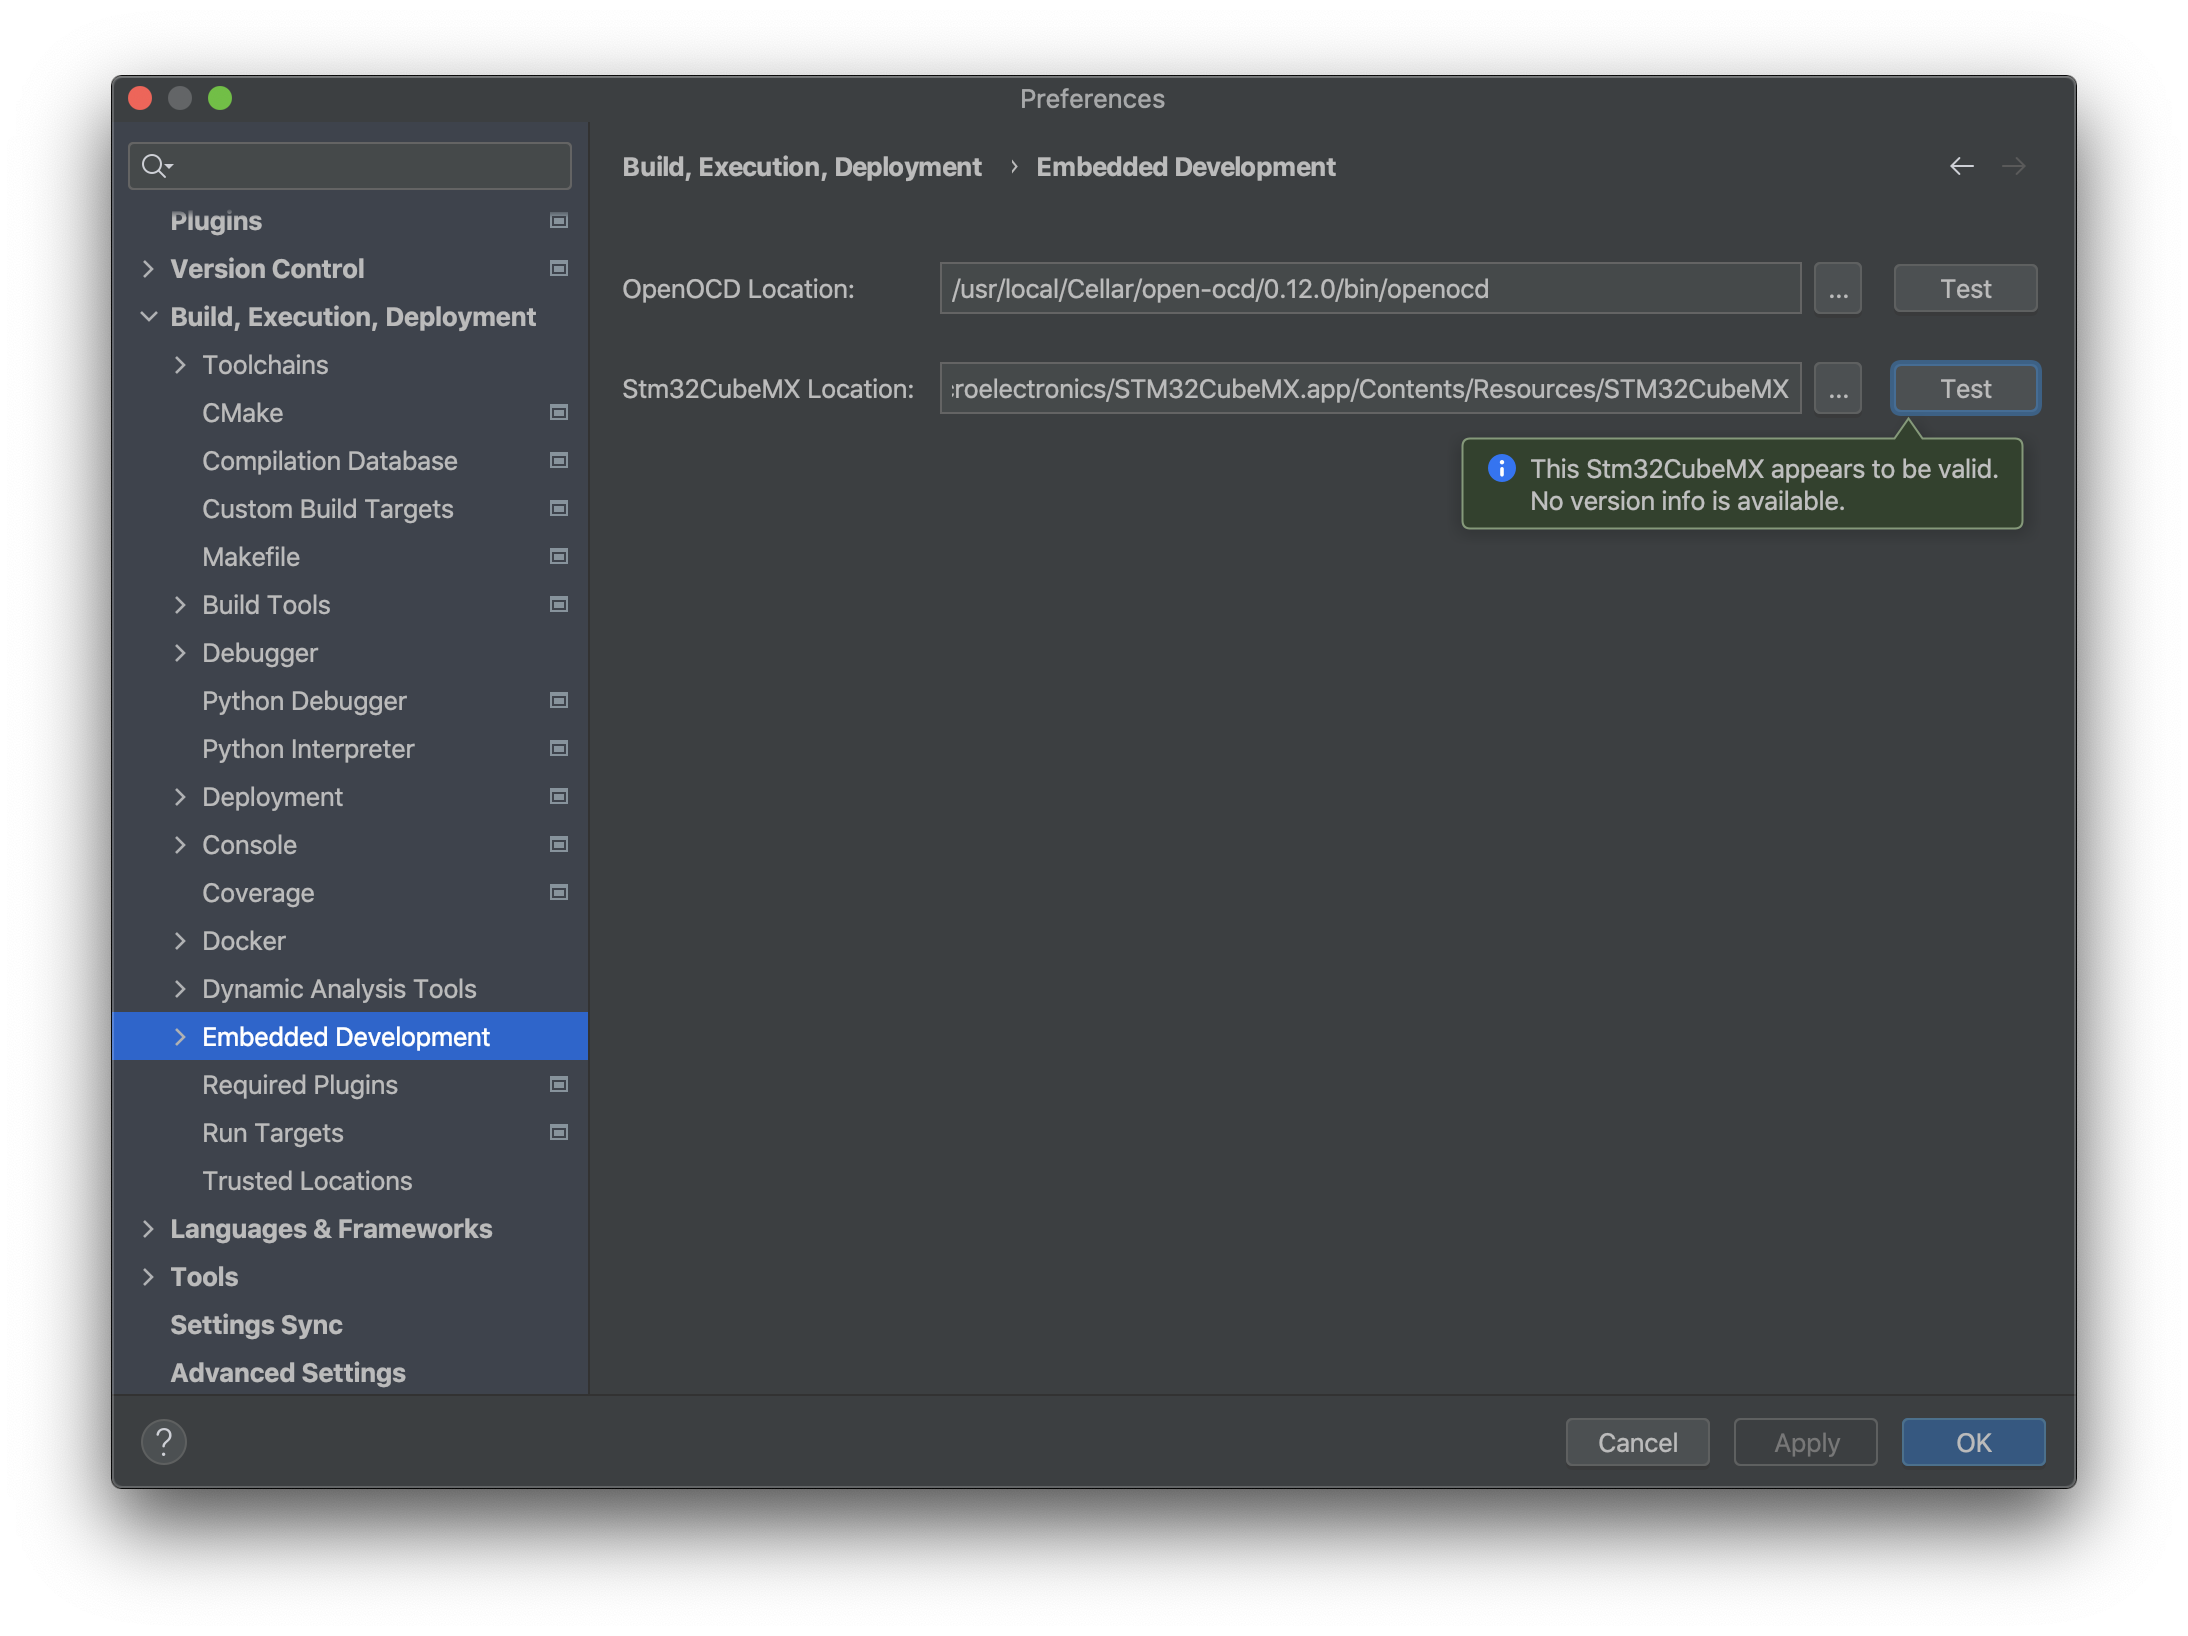
- Generally, both of your OpenOCD and CubeMX locations should be as same as me. Remember to test your paths by clicking
Test.
Toolchains
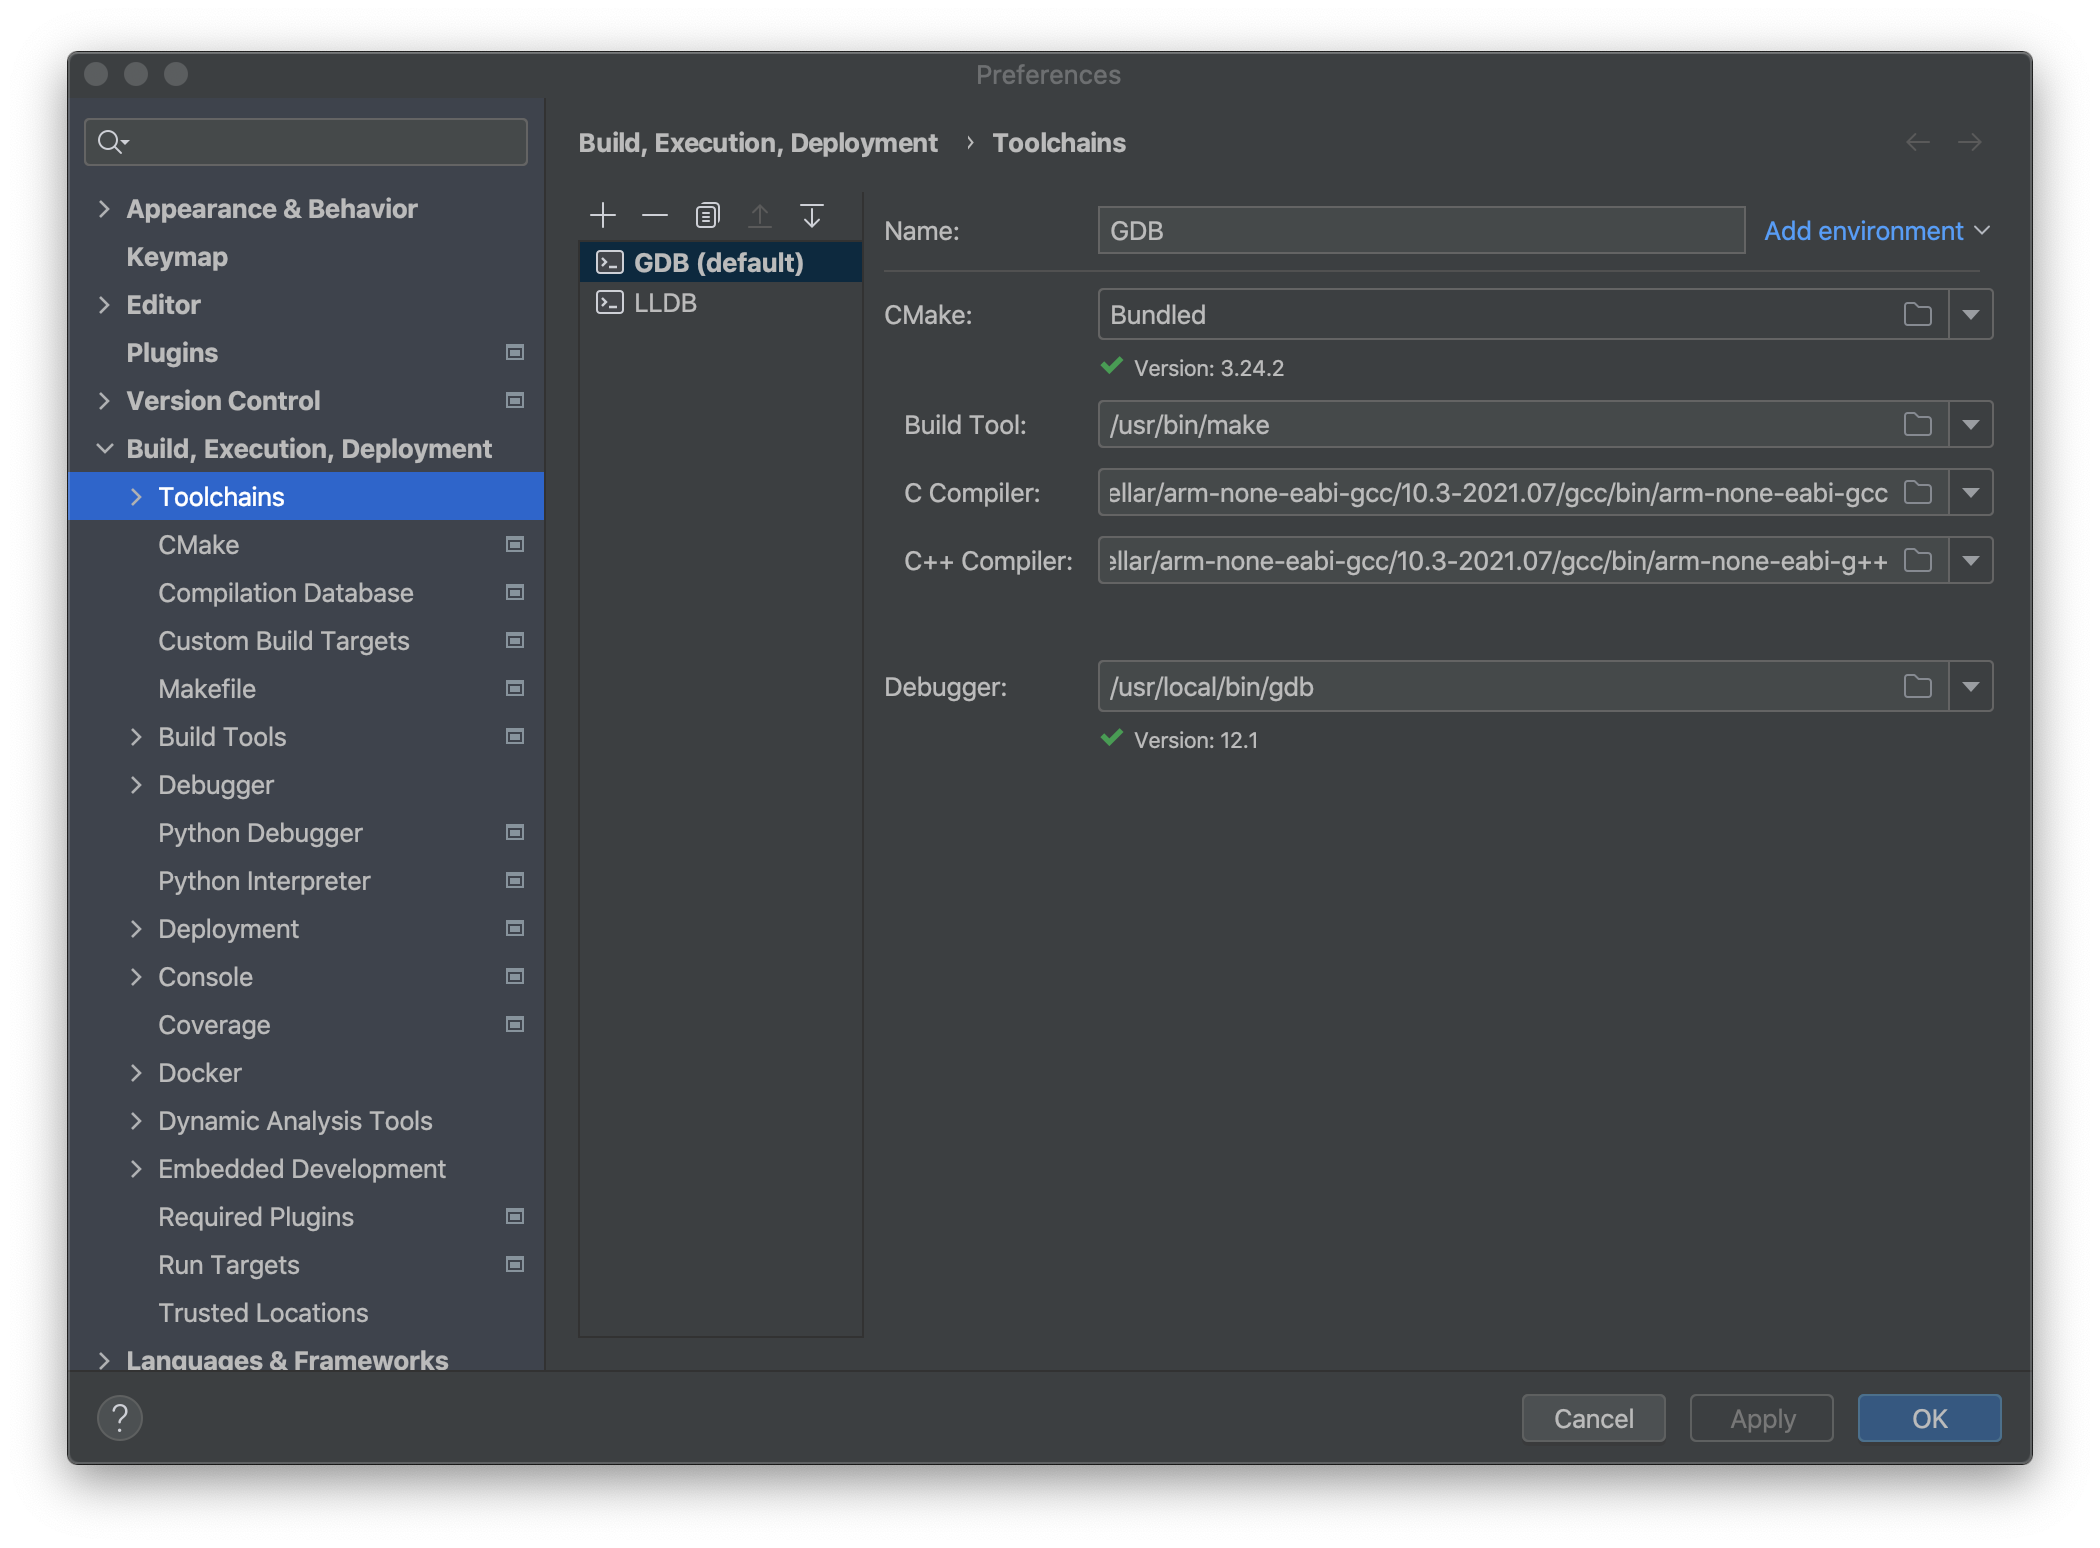
- Set build tools, C/C++ compilers and debuggers. You should use
Bundled GDBor like me, manually set another GDB path forDebuggeroption.
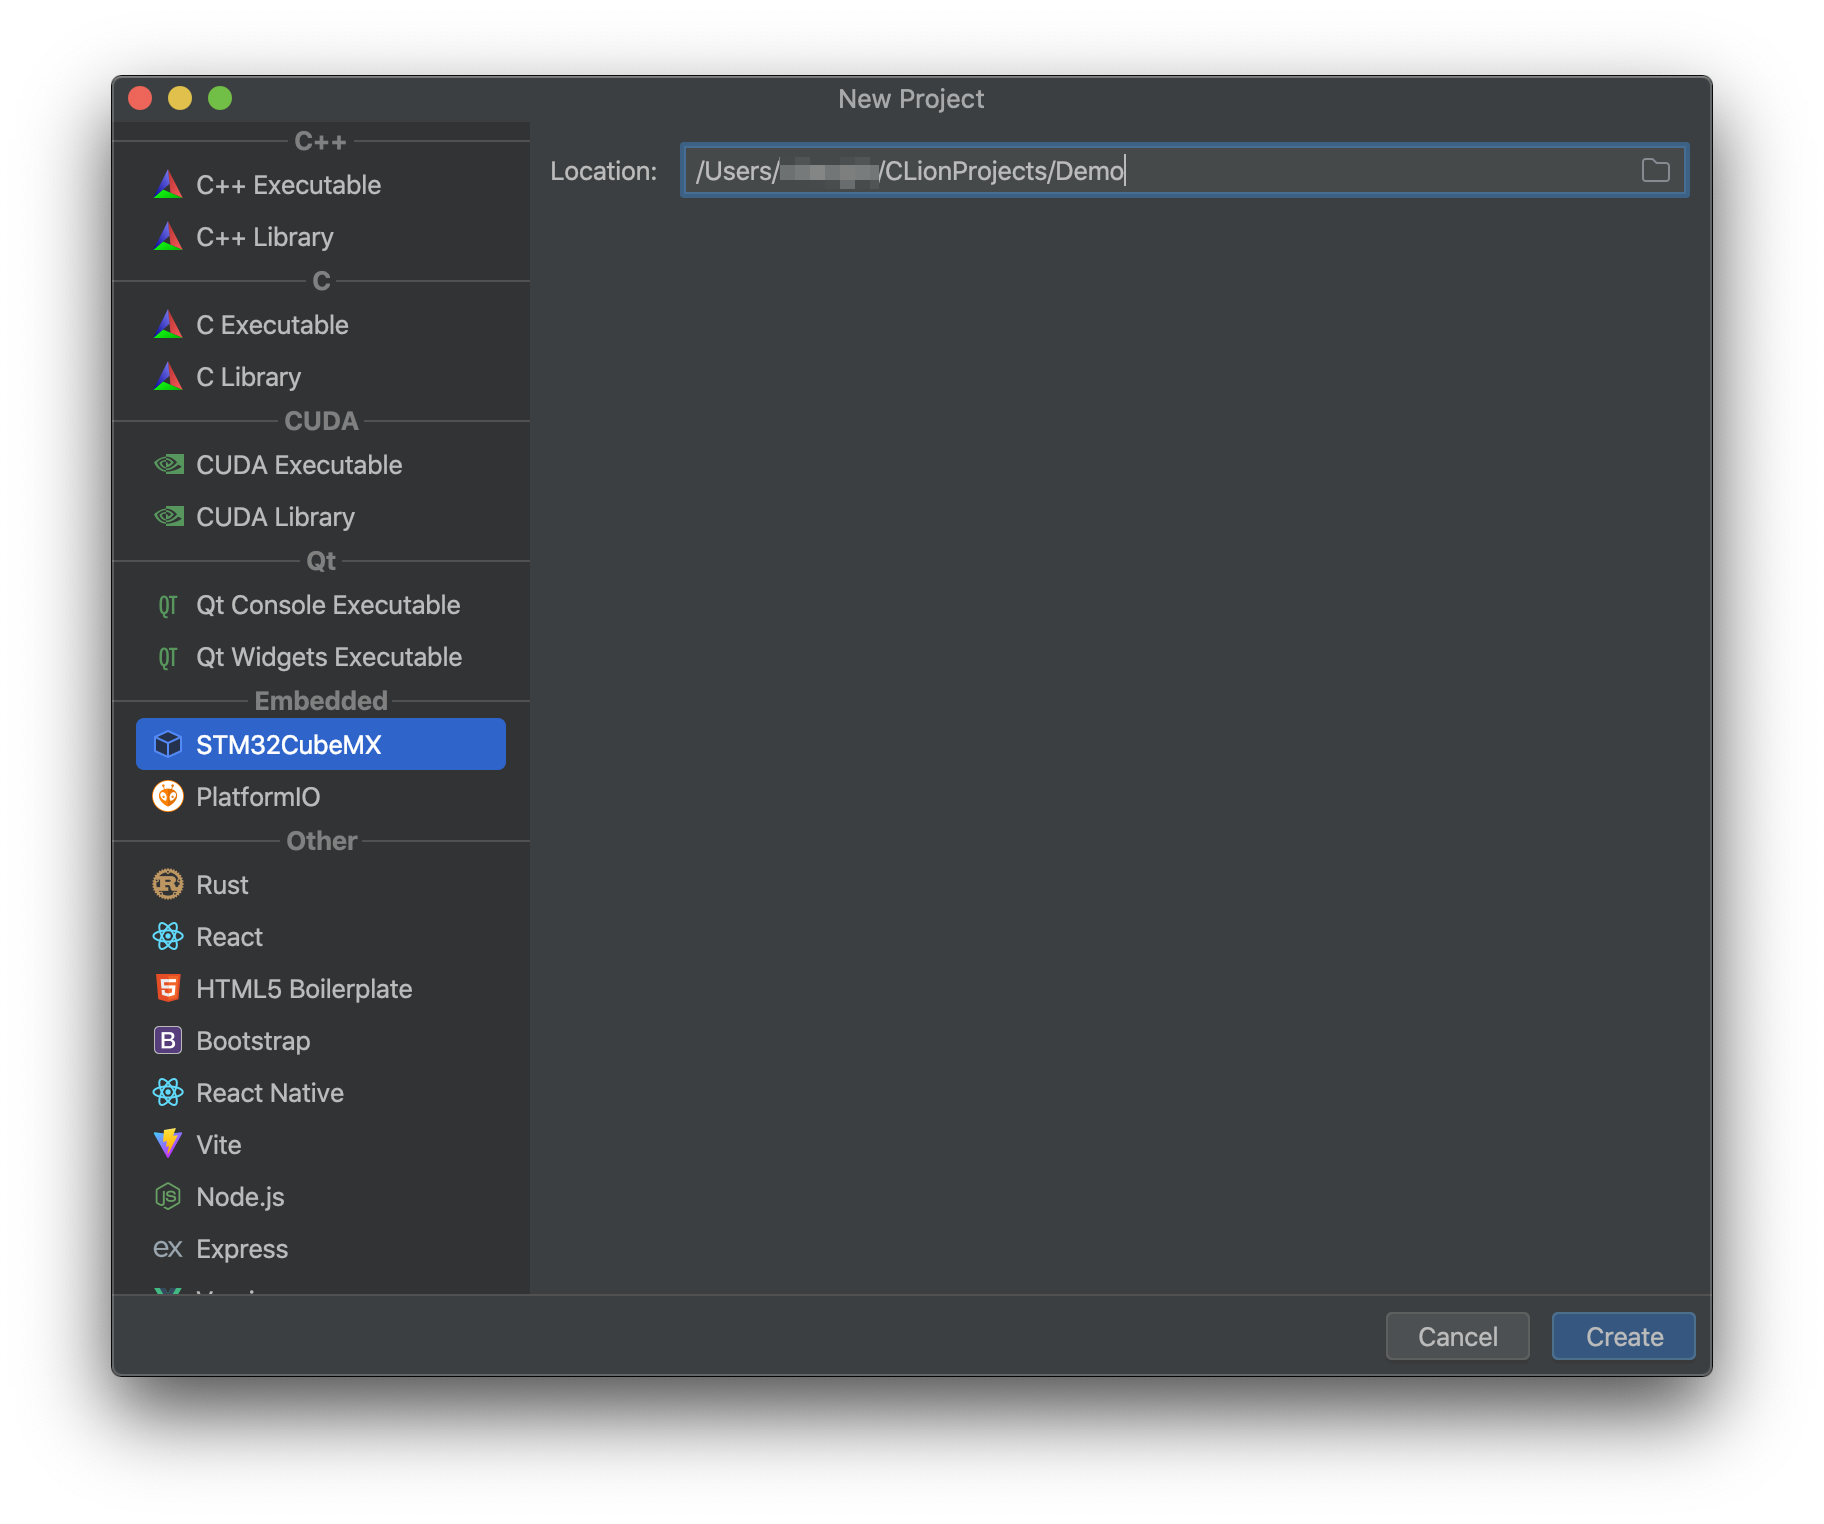
- Create a new
STM32CubeMXproject.

- Here, you can either click
Useto choose a board type or clickSkipto choose one later.
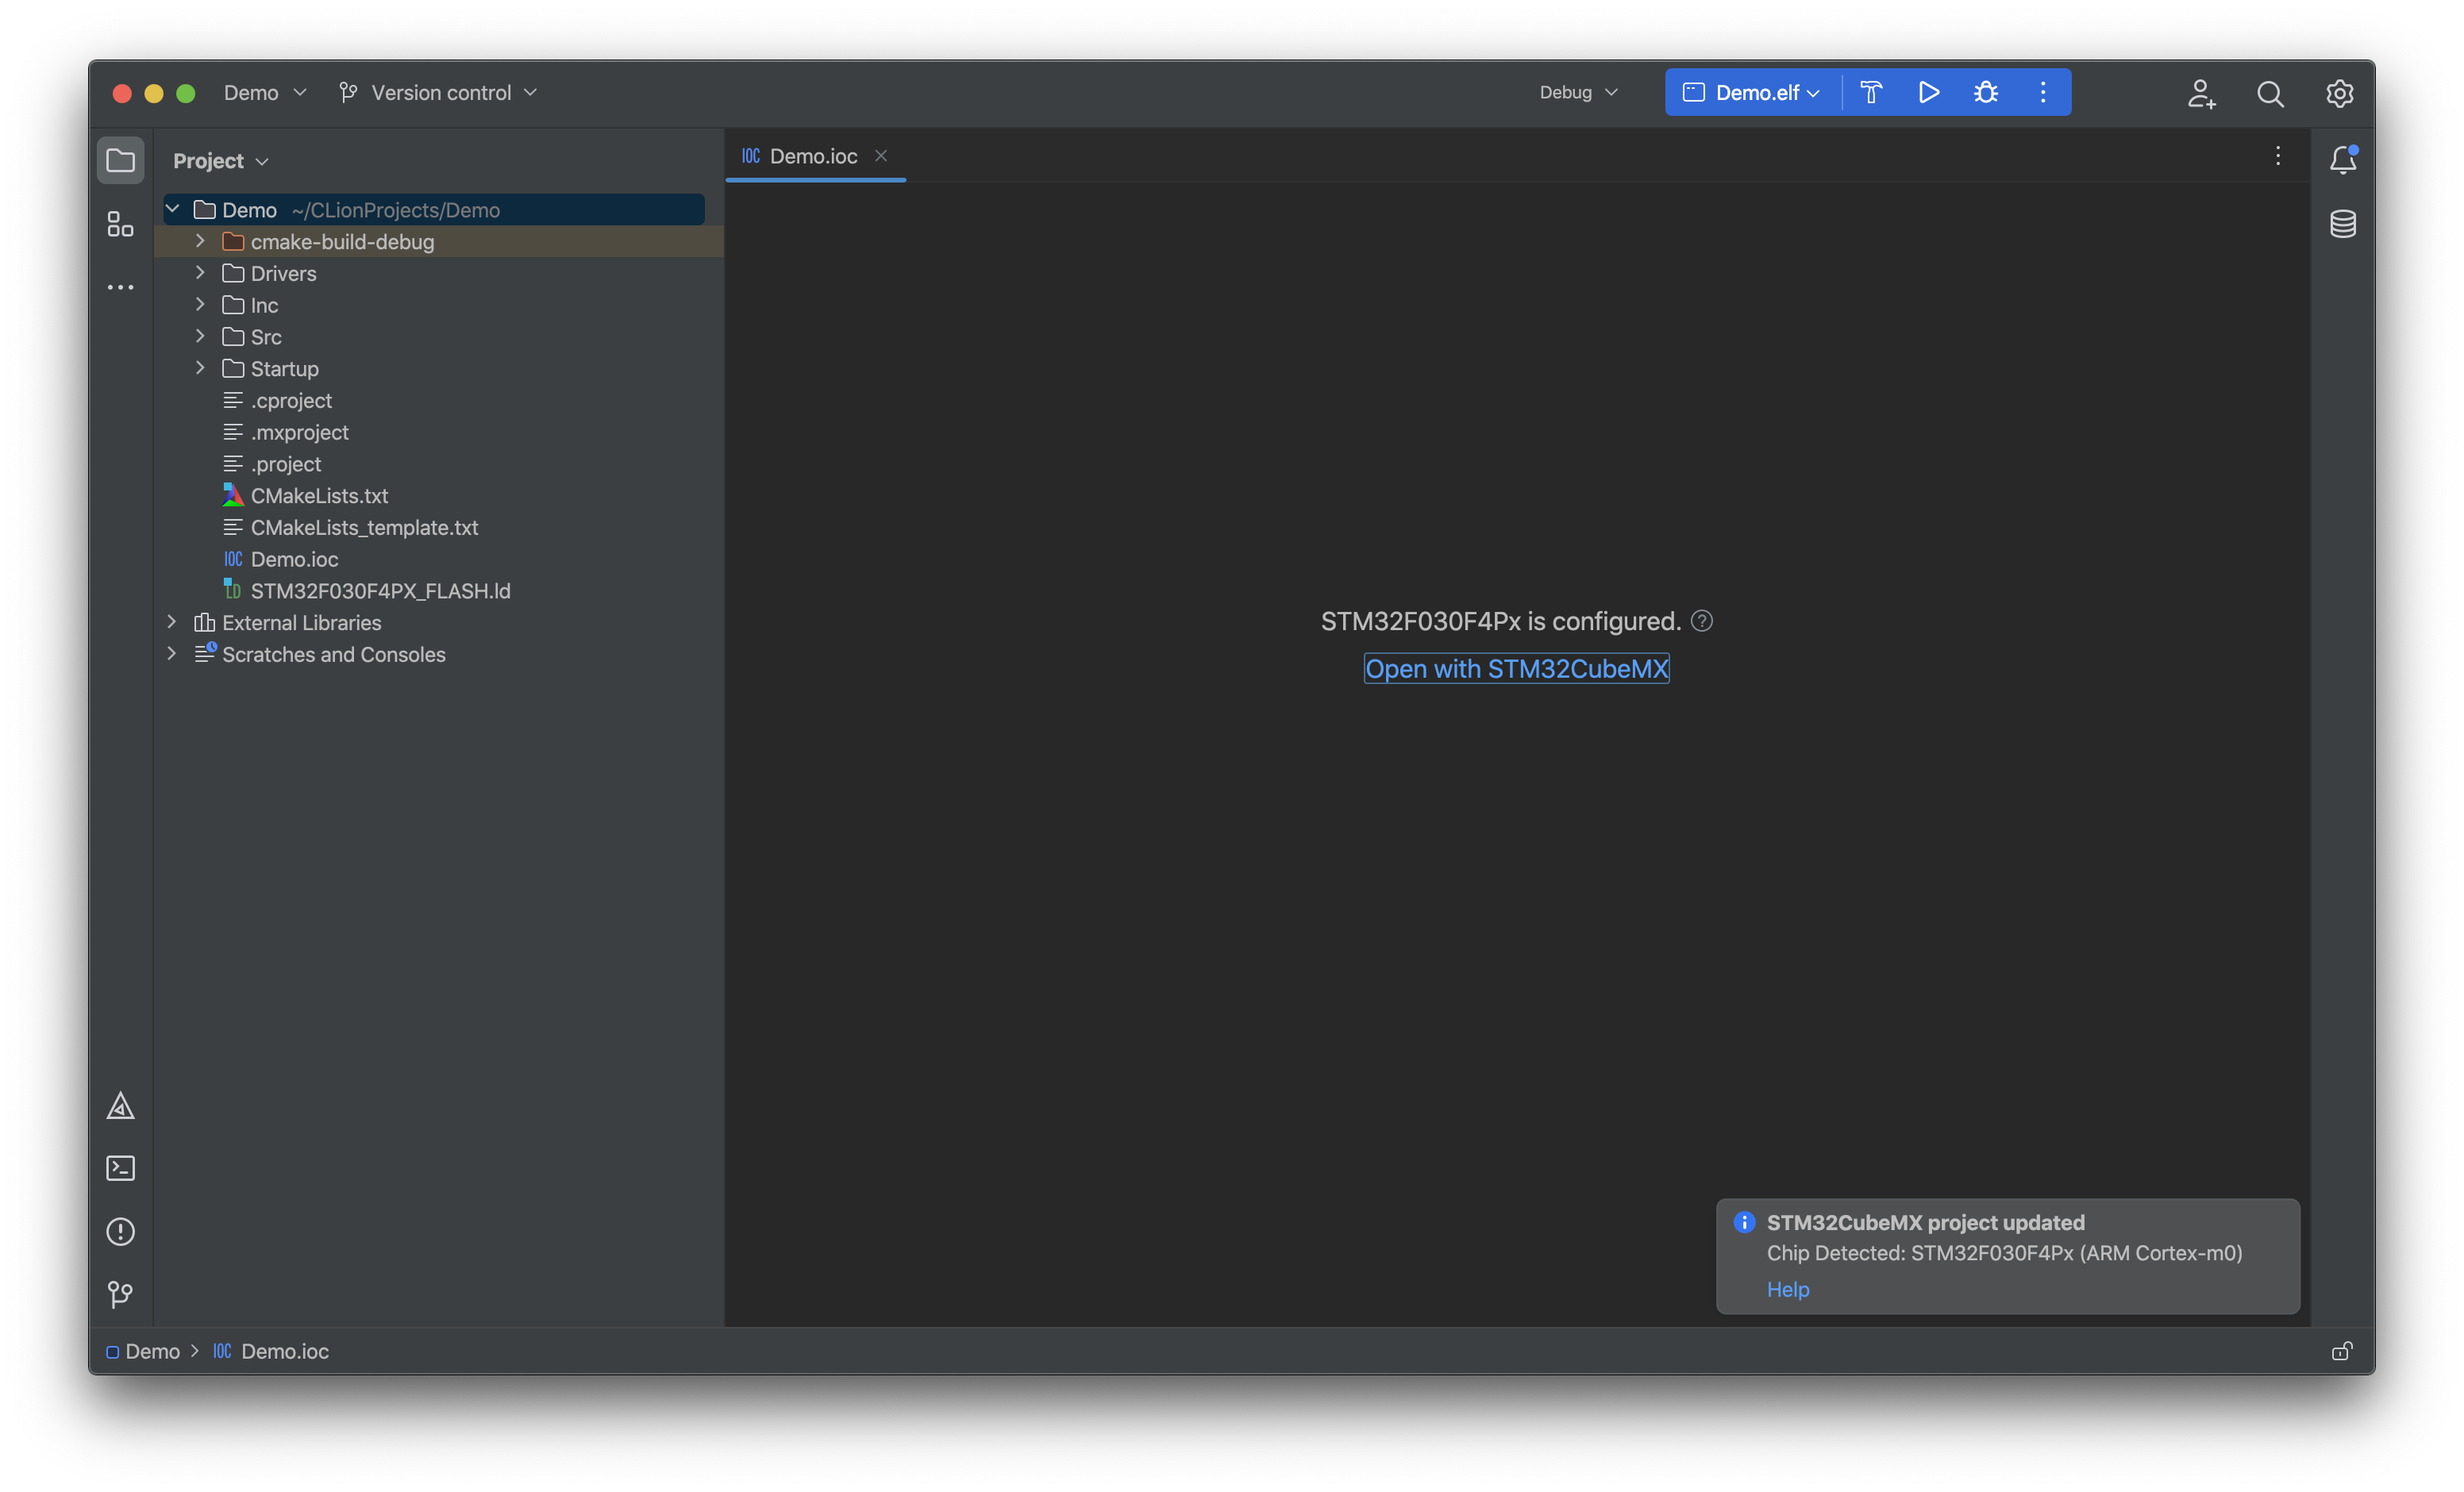
- Click
Open with STM32CubeMXto open the application.
- The default MCU is
STM32F030F4Px.
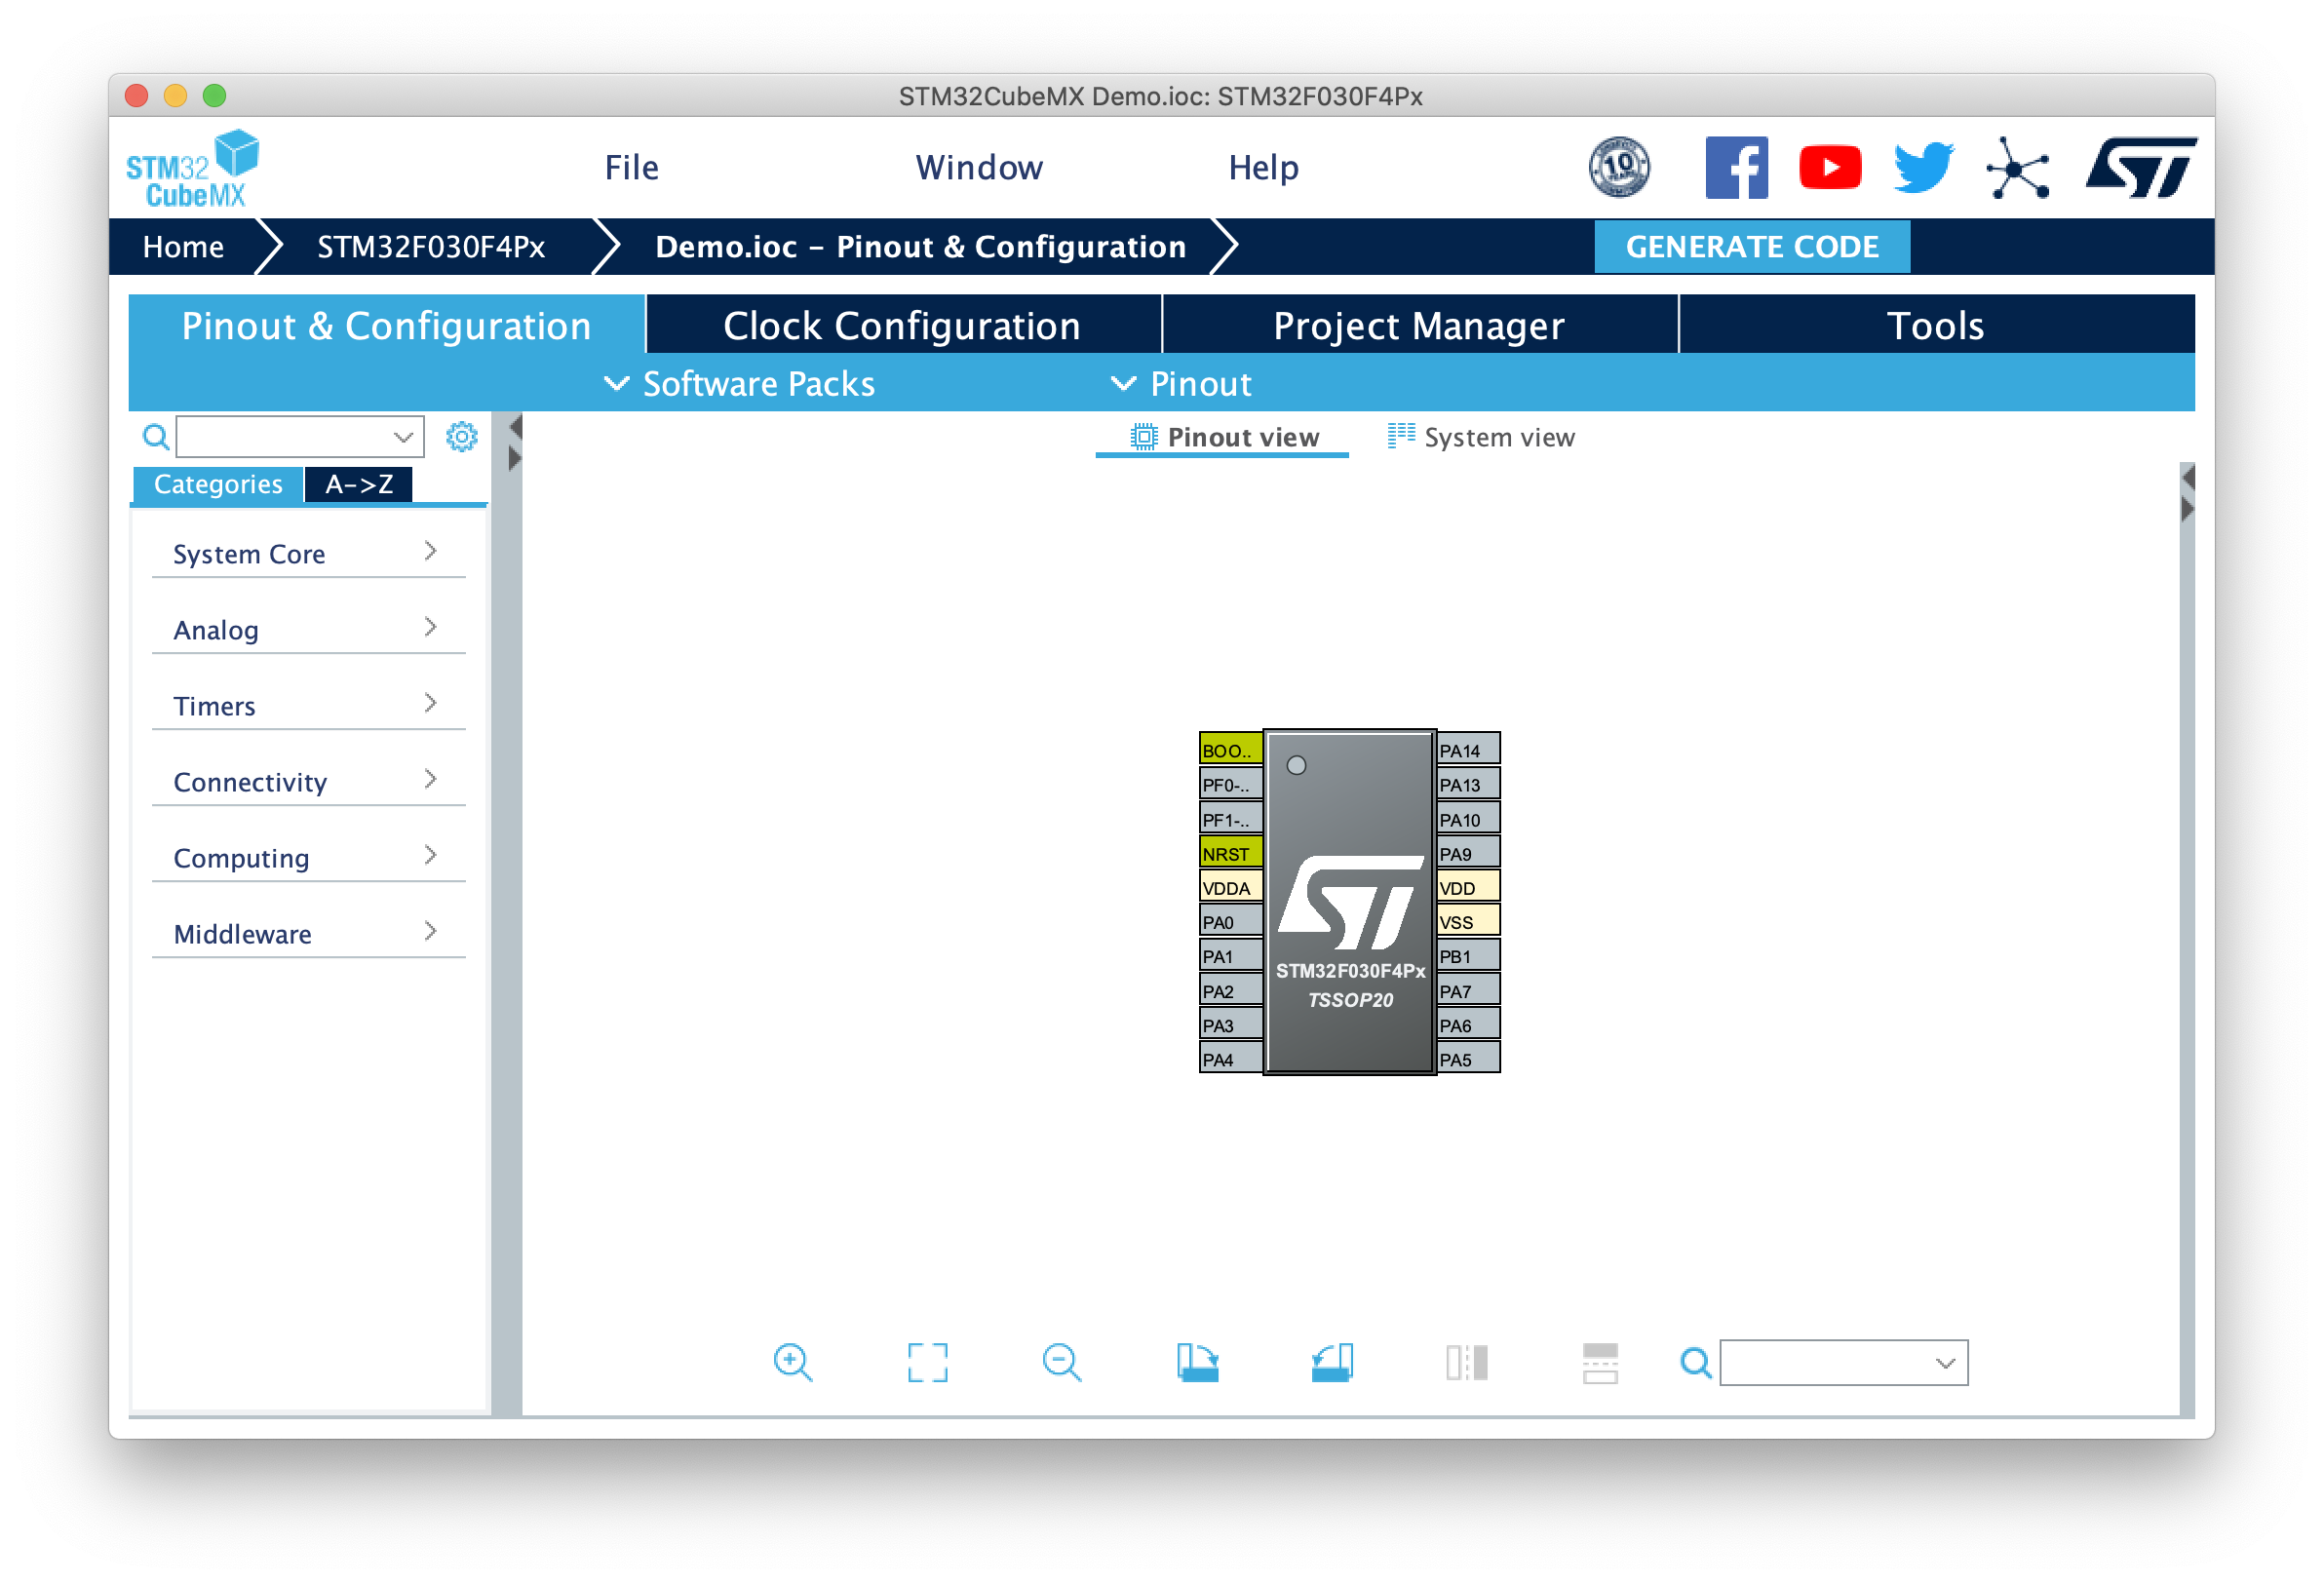
- You can use STM32CubeMX like what you do everyday.
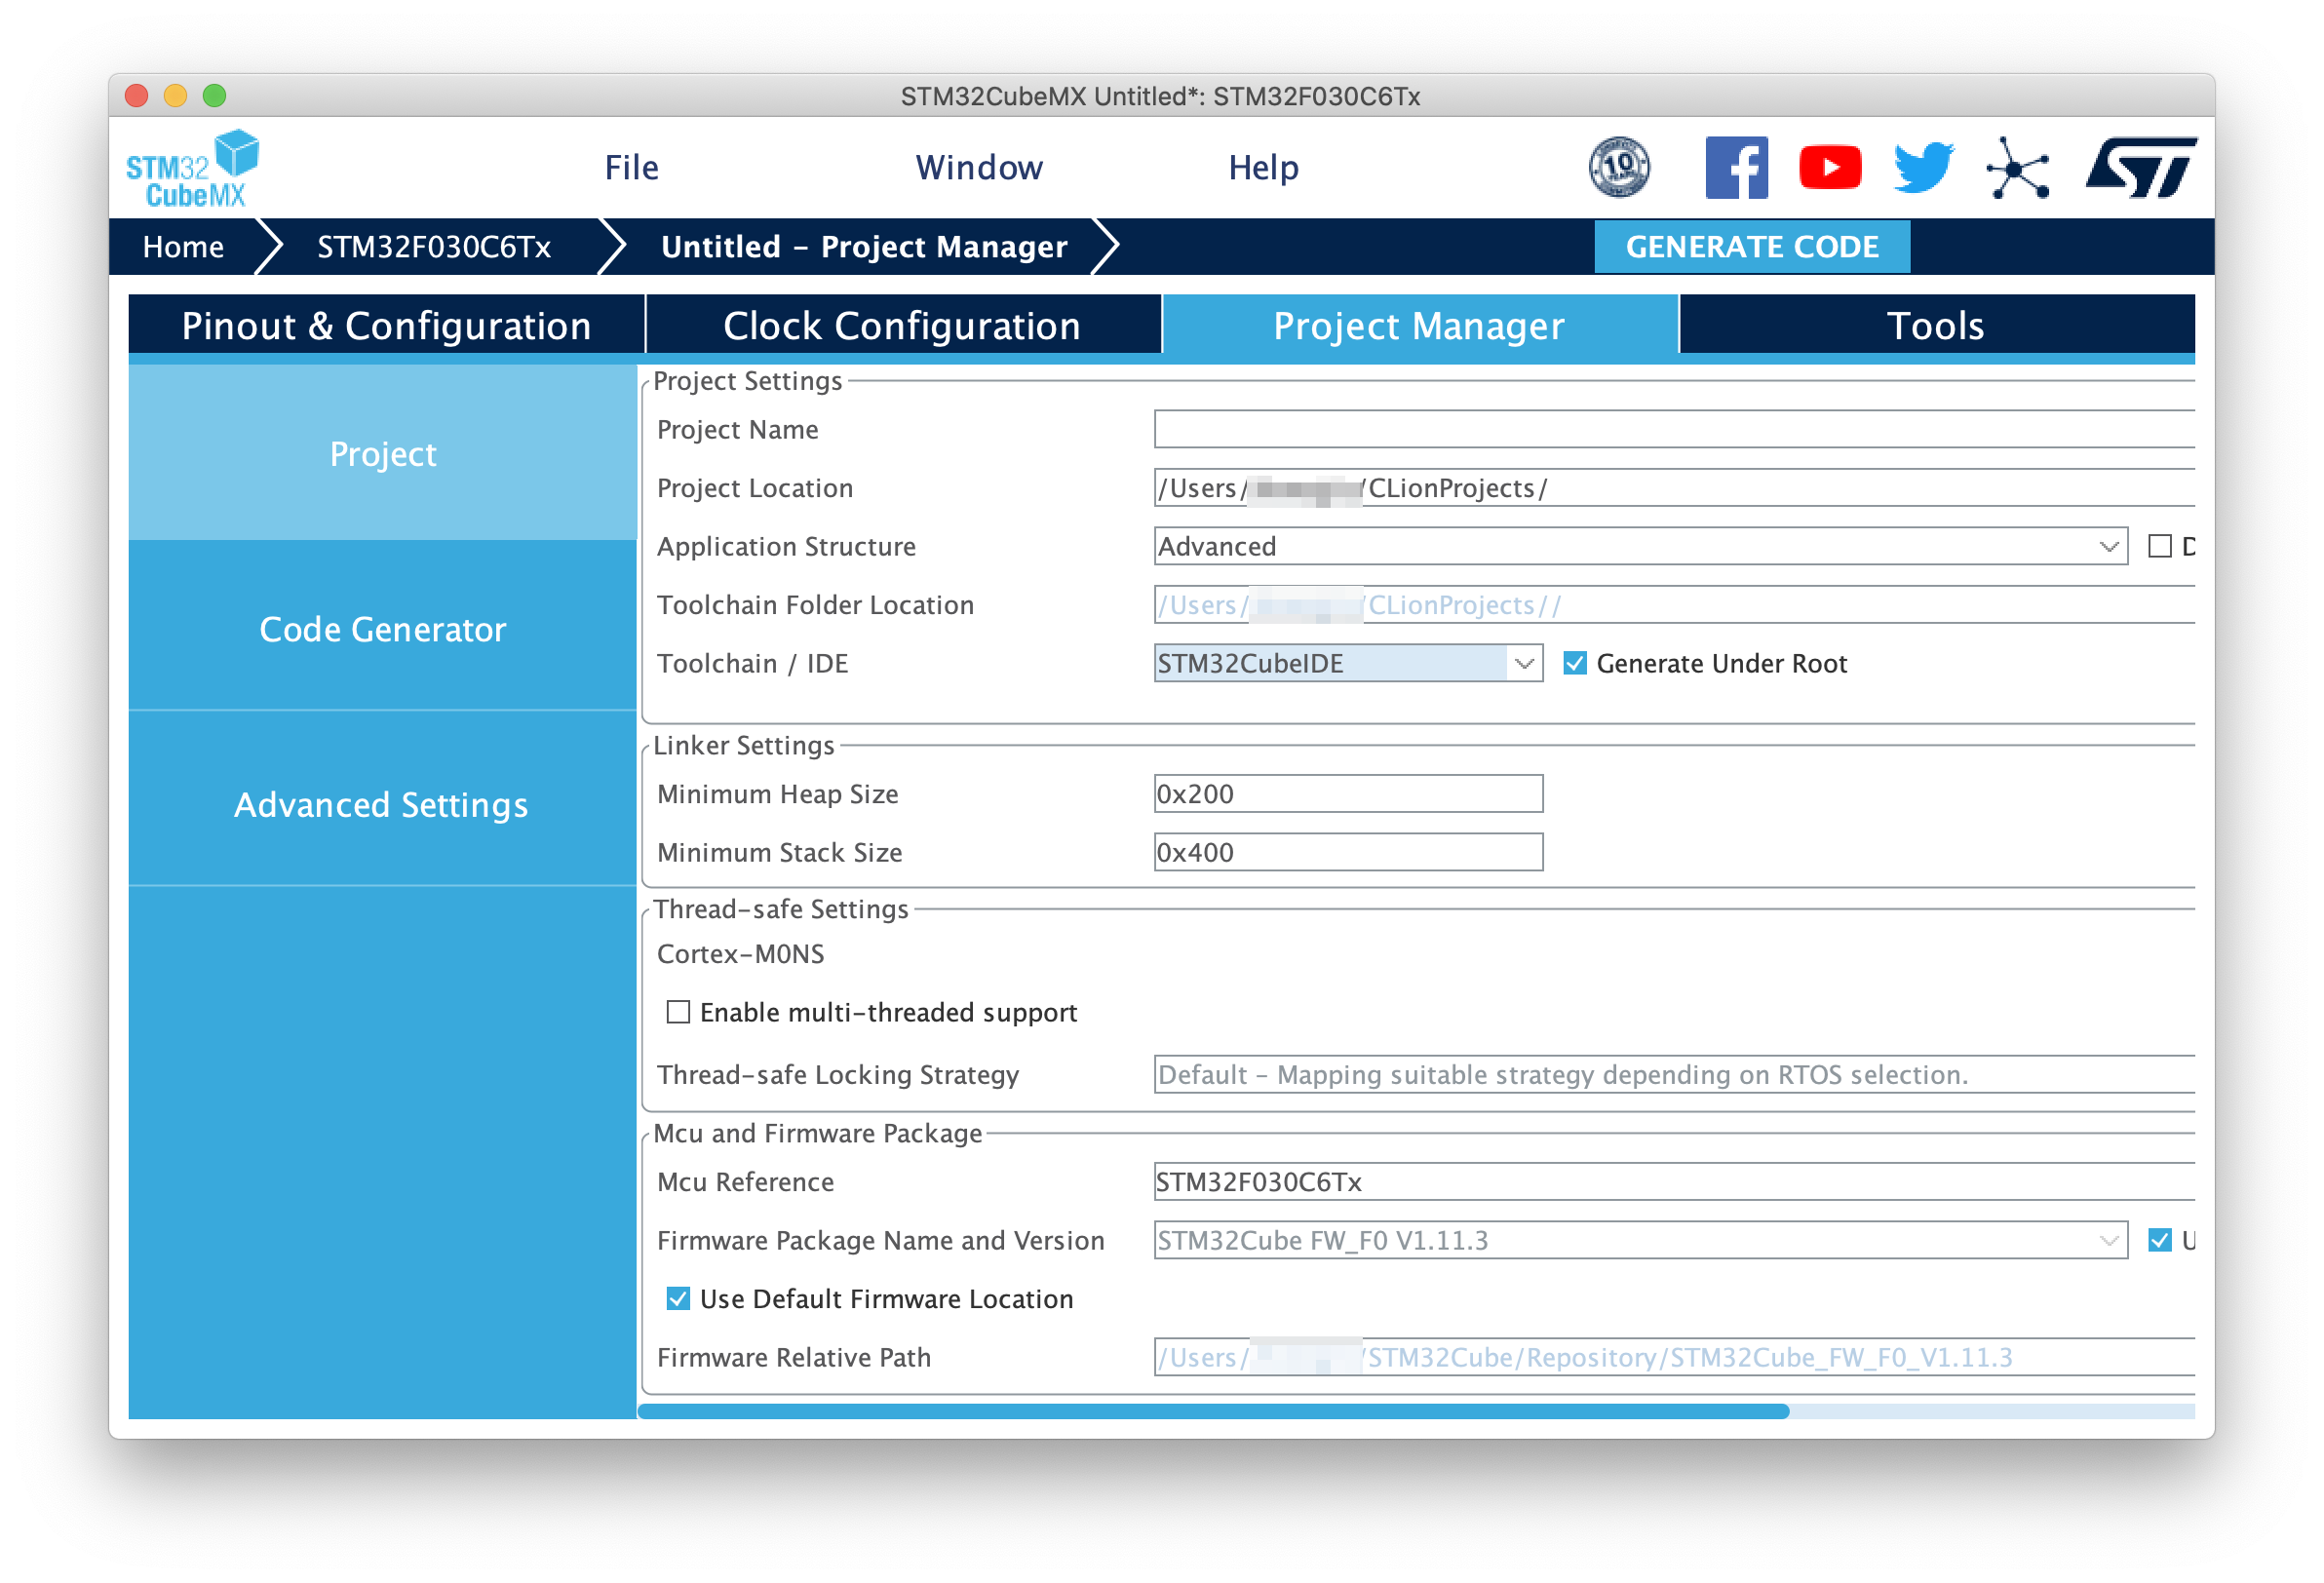
- You have to select
STM32CubeIDeinToolchain / IDEsetting, and theProject Nameshould be kept as same as the project name in CLion.
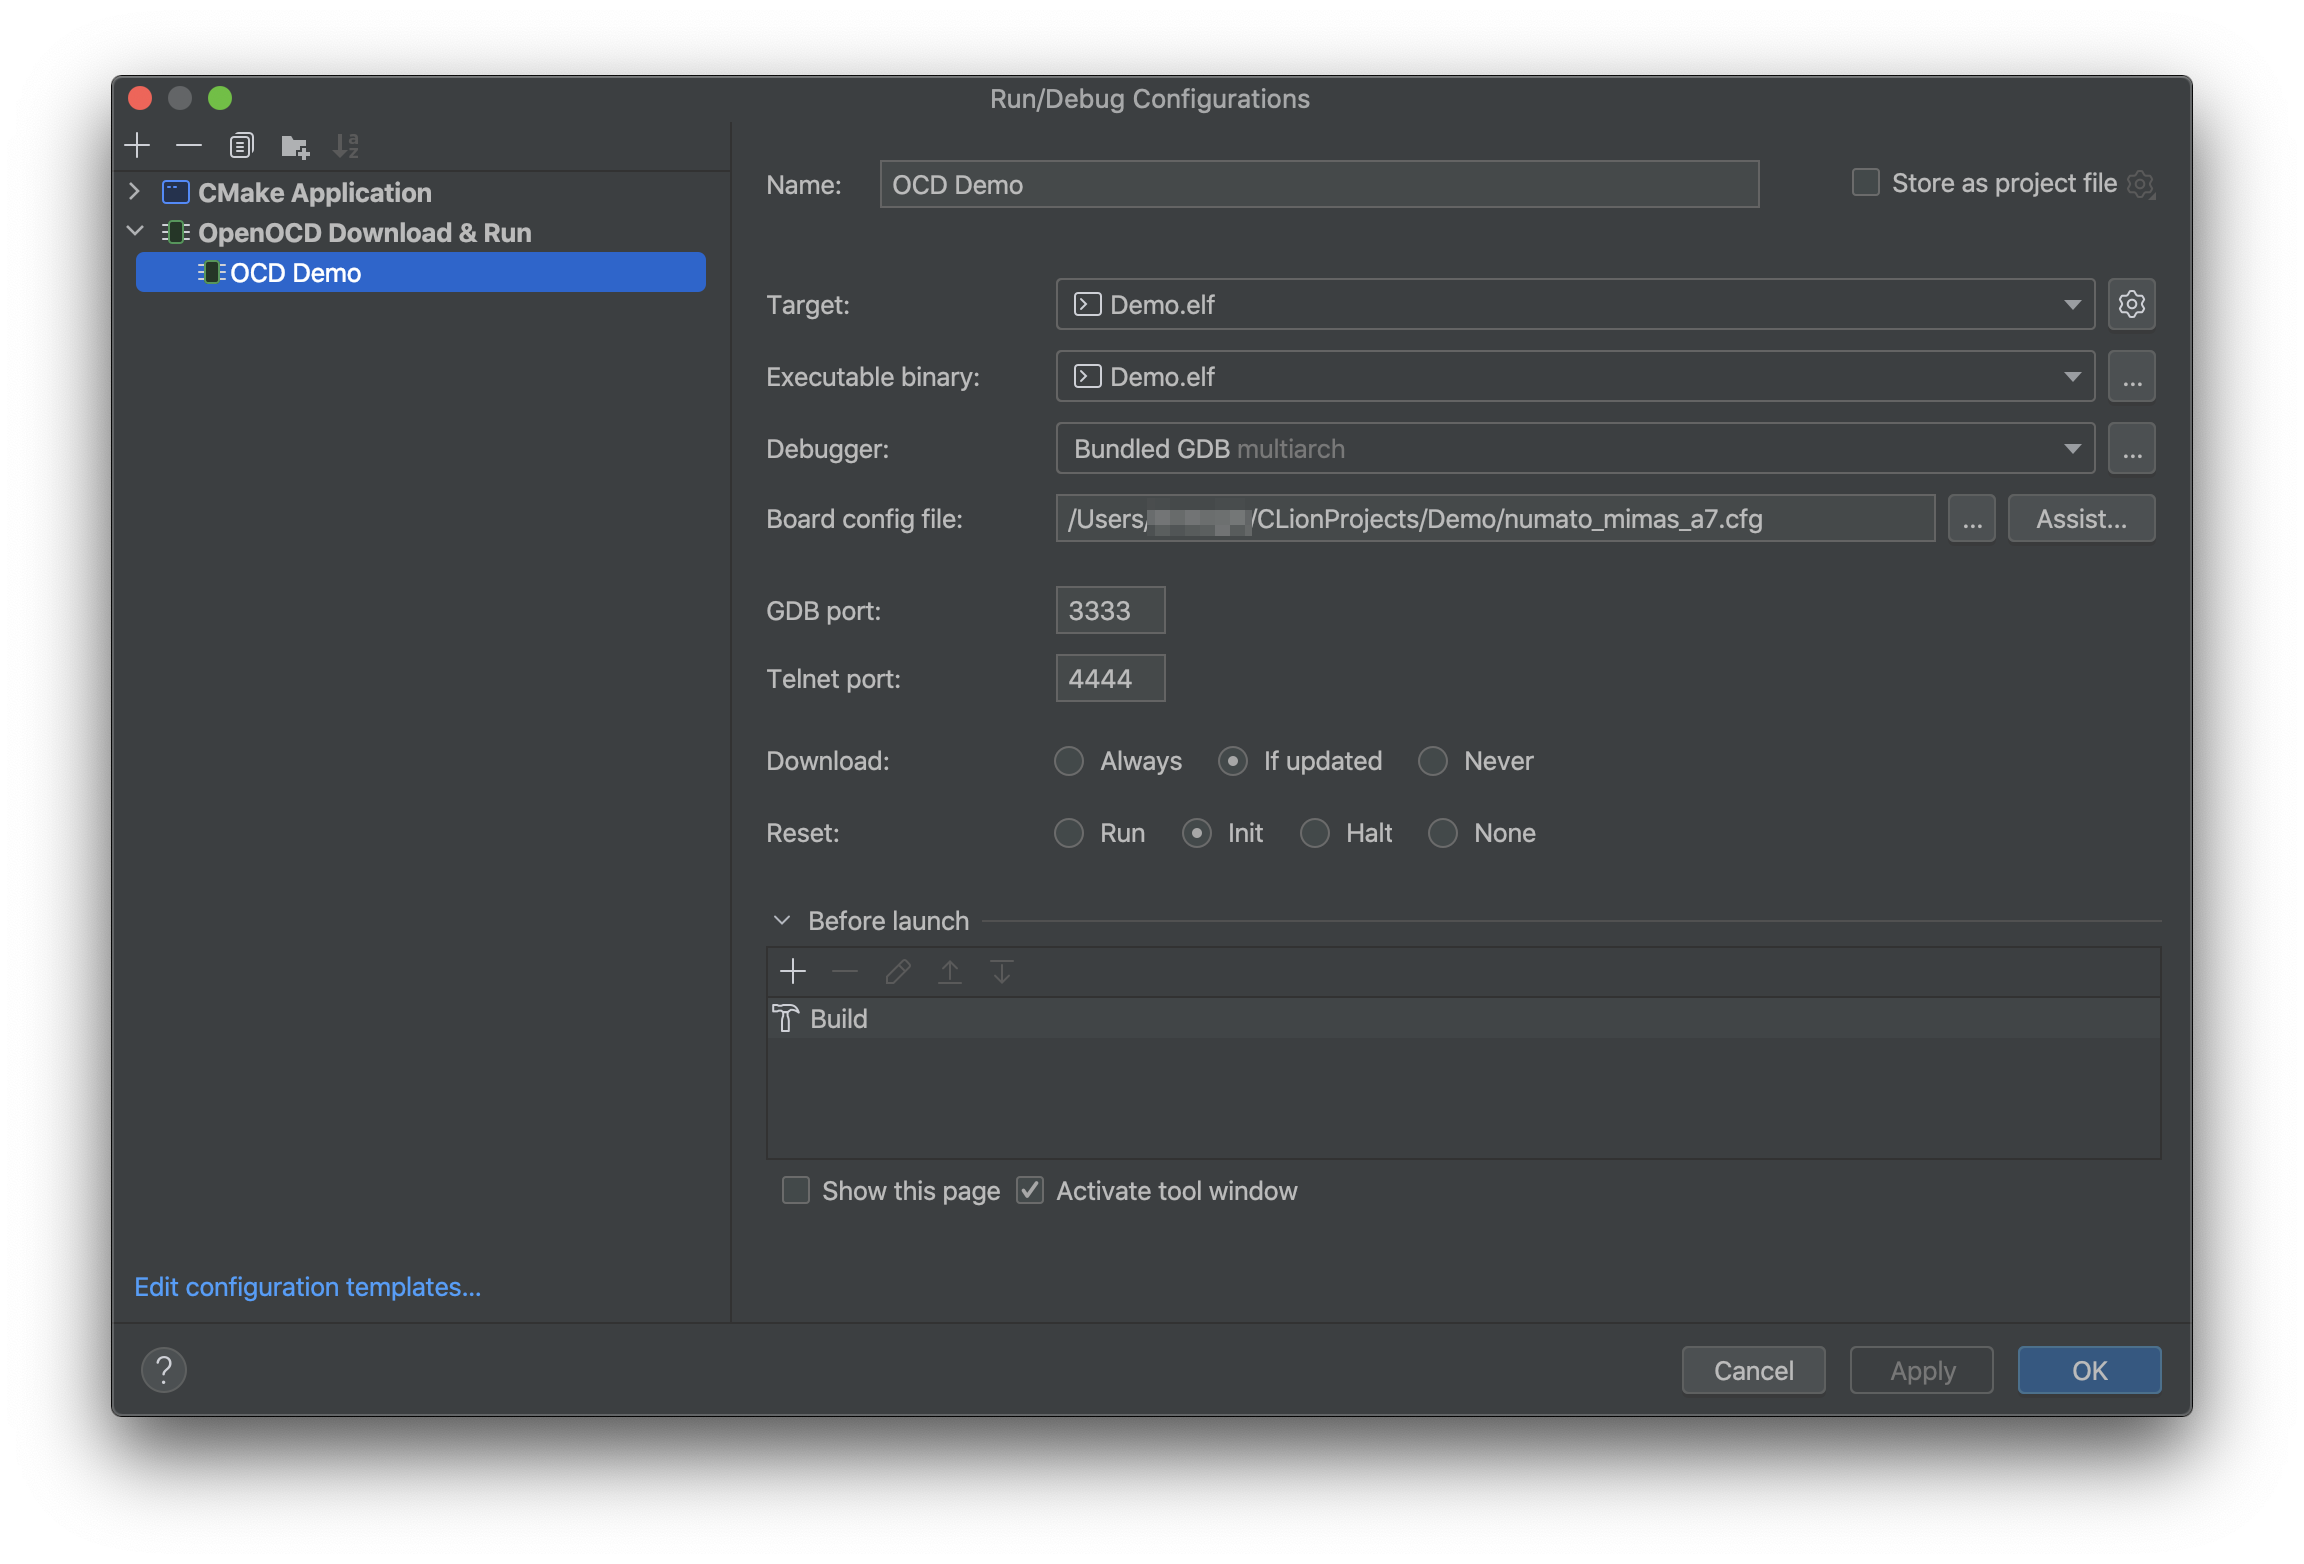
- After you generate code and overwrite the old project files, click
Assistand choose a board type inRun/Debug Configurations.
- You also need to edit the board config file in accordance to the version of your ST-Link.
Congrats! You can now build, upload, and debug in CLion.